Image Size Converter
Convert multiple images to your desired file size
In this digital age, almost every task is now online. Whether it’s a government application, filling out a job form, college admission, or creating a profile on a website—uploading photos in the required size is mandatory everywhere. Often, our photos exceed the required size limit, preventing them from being uploaded. In such situations, we need to quickly and safely resize the image.
This Resize Image Tool was developed to address this issue. With this tool, you can increase or decrease the size of any photo in KB or MB as needed, without unnecessary quality loss. This tool is easy to use, fast, and completely online.
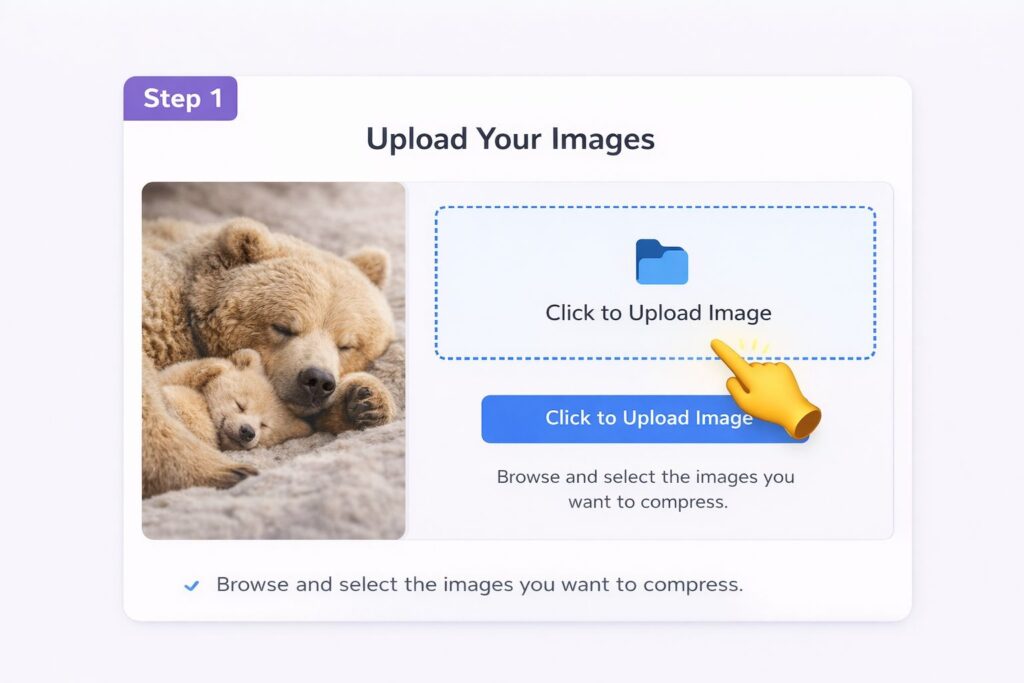
Step 1: Upload an Image
First, open the Resize Image Tool. Once the tool opens, you’ll see an option labeled “Upload Image” or “Click to Upload.” Click on the button and select the photo you want to resize from your gallery or folder.
Once you select the image, it appears on the screen and is ready for further processing. This step is crucial, as you cannot begin the resize image process without uploading the image.
Step 2: Set target file size (KB or MB)
After uploading the image, the next step is to set its target size. Here, you’ll see a “Target File Size” option. This is where you’ll enter the size you want to resize your image to.
For example, if an application requires a 100 KB photo, you can type 100 and select the KB option. Similarly, if you need a 1 MB image, you can select the MB option.
This step is crucial because it’s the tool’s basis for resizing your photo and adjusting it to the specified size.
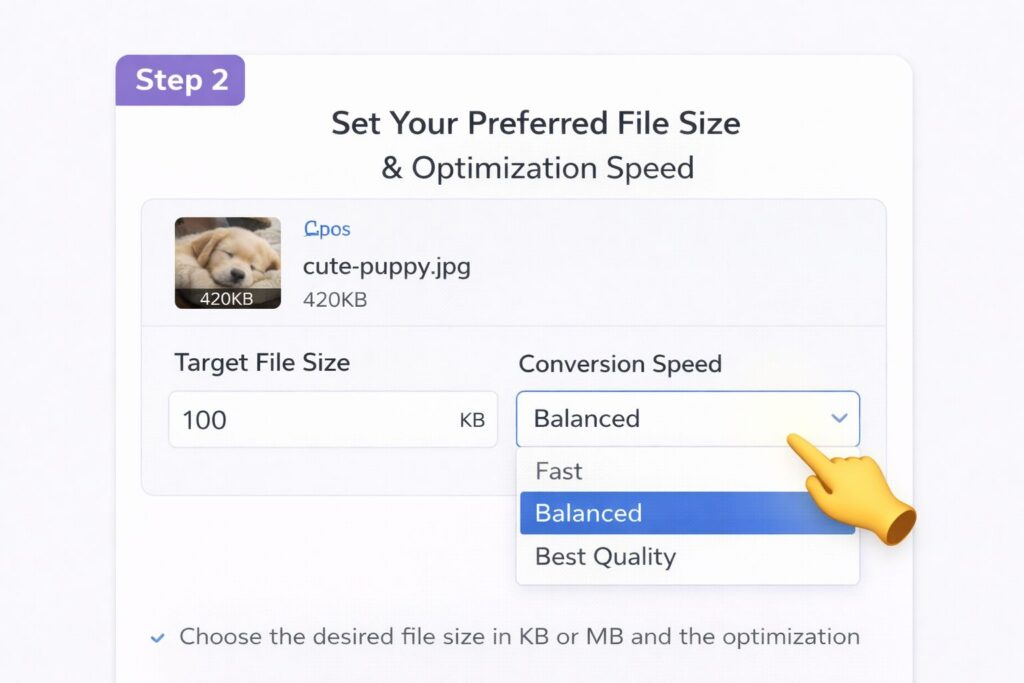
Step 3: Select Quality or Conversion Options
Now you need to select the quality or speed of the conversion. You typically have options like Fast, Balanced, and Best Quality. If you only want to reduce the size and need the photo for general use, the Balanced option is appropriate.
If clarity and quality are your priorities, select Best Quality. This option preserves the photo quality as much as possible while resizing the image.
This step is important because it maintains a balance between image clarity and file size.
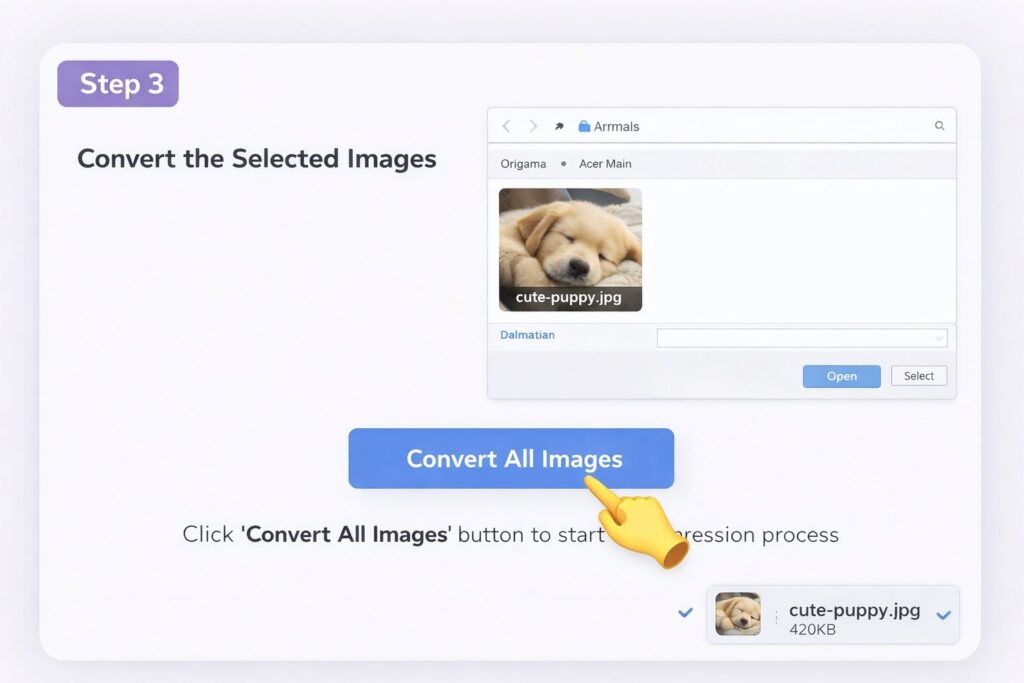
Step 4: Click the Convert button
After completing all the settings, click the “Convert All Images” button. As soon as you click this button, the tool immediately begins resizing your photo to the specified parameters.
You can see a progress bar during the process, letting you know the conversion is in progress. Within moments, your image will be ready in the new size.
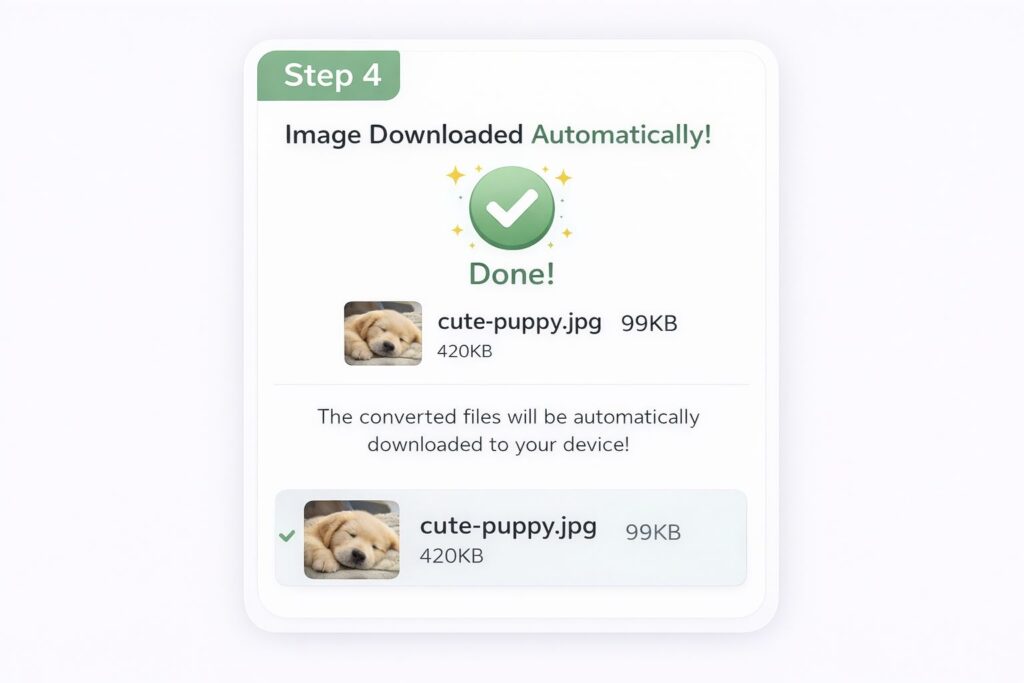
Step 5: Image downloads automatically
The most important feature of this Resize Image Tool is that your new size photo automatically downloads as soon as the conversion is complete. You don’t need to press a separate download button.
This feature saves users time and makes the entire process simple and fast. Now you can easily use this new size photo on any website, form, or social media platform.
Key Benefits of the Resize Image Tool
This tool offers users several important features. It allows you to precisely control the size of any image. With both KB and MB options available, it’s suitable for a variety of needs. Furthermore, the quality control option ensures clear image clarity when resizing images.
This tool works seamlessly on both mobile and computers, allowing you to resize your images anywhere and anytime.
Conclusion
If you frequently need to adjust photo sizes within specified limits, this Resize Image Tool is a reliable and effective solution. It allows you to convert your photos to KB or MB sizes without any technical knowledge.
A properly sized image not only helps with uploading but also enhances your professional image. So, whenever necessary, use this tool to resize images safely and easily.